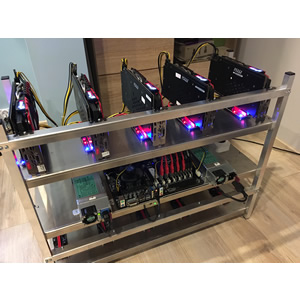
Mining rigs
1. AMD Miner
Parts
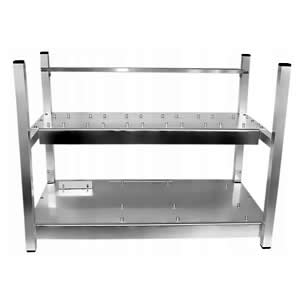
Frame
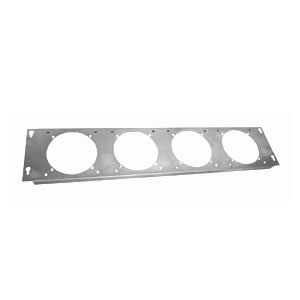
Fan Frame
Motherboard
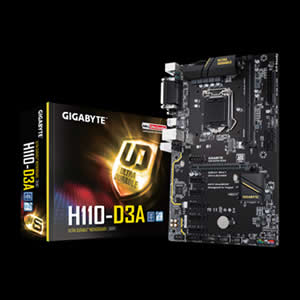
Gigabyte H110-D3A
CPU
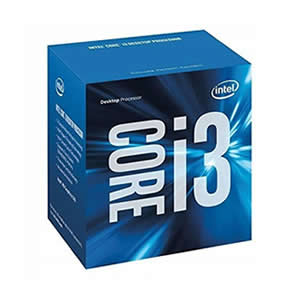
Intel Core i3-6100 3.7GHz
RAM
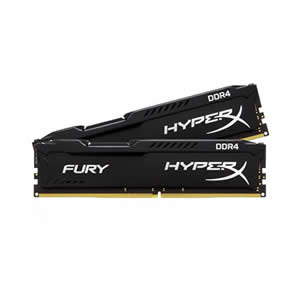
Kingston HyperX 2x4GB 2400MHz DDR4
GPUs
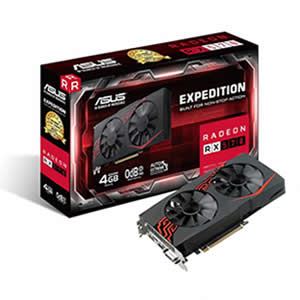
6x ASUS Radeon RX 570 4GB GDDR5
PSU
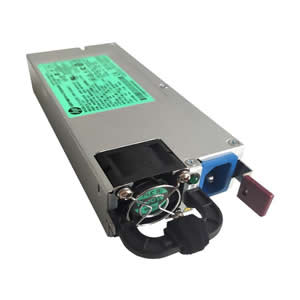
PSU HP 1250W + power cable
Storage
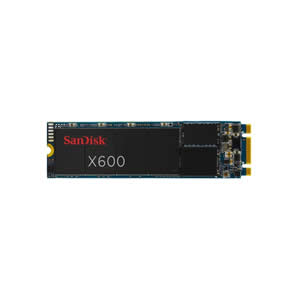
SSD SanDisk X600 128 M.2 530 MB/s
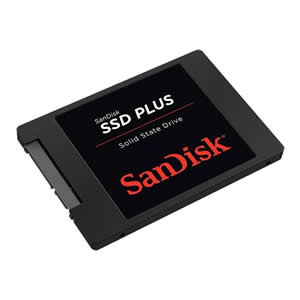
SSD SanDisk Plus 240GB 2,5" 440/530 MB/s
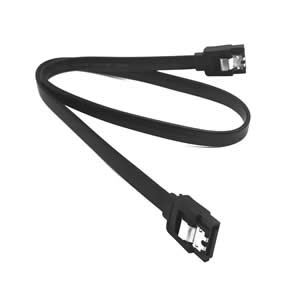
SSD SATA Cable
Risers
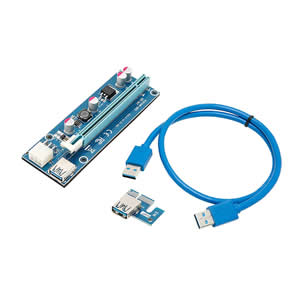
6x Riser 008S
Fans
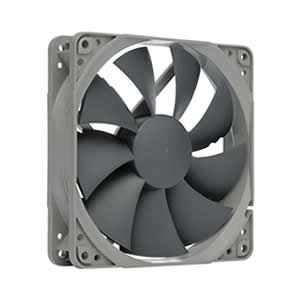
4x Cooler Noctua NF-S12B REDUX 1200 PWN
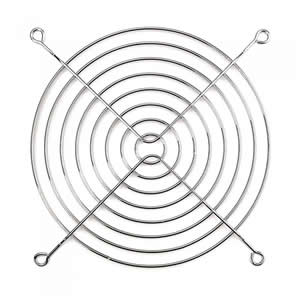
4x Chrome Fan Grill
Other
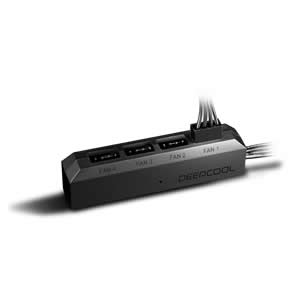
Deepcool FH-04 Fan Hub
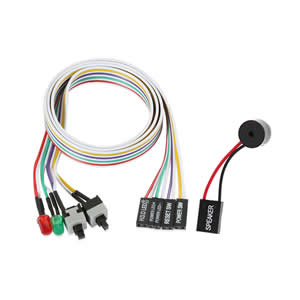
ATX power wire & speaker
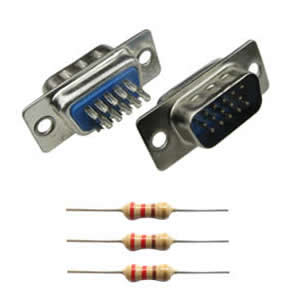
DB15 VGA connector + 3 resistors R20
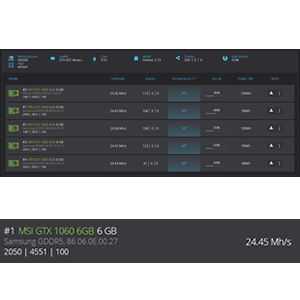
2. NVidia Miner
Building case

Now 5 x MSI GTX1060

Ready to work with 10 x GTX1060
Results
Configuration
1. Create an account on https://accounts.raveos.com.
2. Login to your account.
3. Add a new cluster and worker in the "Clusters" and "Dashboard" menu.
4. Go to the System Info tab of the added worker and copy the worker's token.
5. Download HDD Raw Copy Tool flashing utility for Windows (there's other alternatives for Linux/macOS too).
6. Download and unpack RaveOS image https://raveos.com/os.
7. Flash the OS image to your media using HDD Raw Copy Tool (or any other alternative).
8. Open OS_DISK:/config/token.txt file, paste the worker's token and save it. To configure your network settings edit OS_DISK:/config/network.txt.
9. Plug the drive with the OS installed into your rig.
10. Create a wallet - you can use an wallet like Atomic Wallet for multiple cryptocurrencies.
11. Login into your wallet.
12. Copy the wallet's public address.
13. In RaveOS go to the "Wallet" and a add new wallet with new name, coin RVN (or any other), select "2miners" pool (best pool to useon RaveOS) and check the servers you want to use, wallet public address and select a miner (I use Teamredminer 0.8.1 for AMD GPUs).
14. Go to "Dashboard", select your rig and click on the Mining button.
15. From checklists use your parameters and apply.
16. Your rig will start automaticaly.
17. Enjoy!